Ever wonder how pro racers get those completely spotless drivetrains? Besides elbow grease on the part of the mechanics, one answer is waxed chains. Waxing can help give you the cleanest, quietest chain possible. If you're frustrated with the way that traditional lubes attract dirt and grit, turning your drivetrain into a gunky mess, it may be time to take a look at waxing instead.
Why you might want to wax your chain
Waxing comes with some key benefits:
- Drivetrain stays much cleaner and attracts much less dirt, dust, and grime
- Save watts with less friction for faster racing; the chain is the highest friction part on your bike
- Wax can last longer than petroleum drip or spray lube
- Less greasy buildup to wear out your expensive drivetrain components
- Bonus - waxed chains pretty much eliminate the possibility of "chainring tattoo" (AKA as "fred mark") when your right calf brushes up against a grimy chain.
When it does eventually wear off, simply remove, clean, and wax again. Hot wax lasts a few hundred miles between waxings.
Chain waxing has come a long way since riders used to destroy the household crockpot in pursuit of quieter chains! You may have heard some horror stories, but waxing today is easier and more convenient than ever thanks to "boil in the bag" products that eliminate the mess and complexity. Let's take a look:
What you'll need to wax your bicycle chain
You can get started waxing your chains pretty inexpensively - definitely under $100 for everything you'll need. I recommend the following gear:
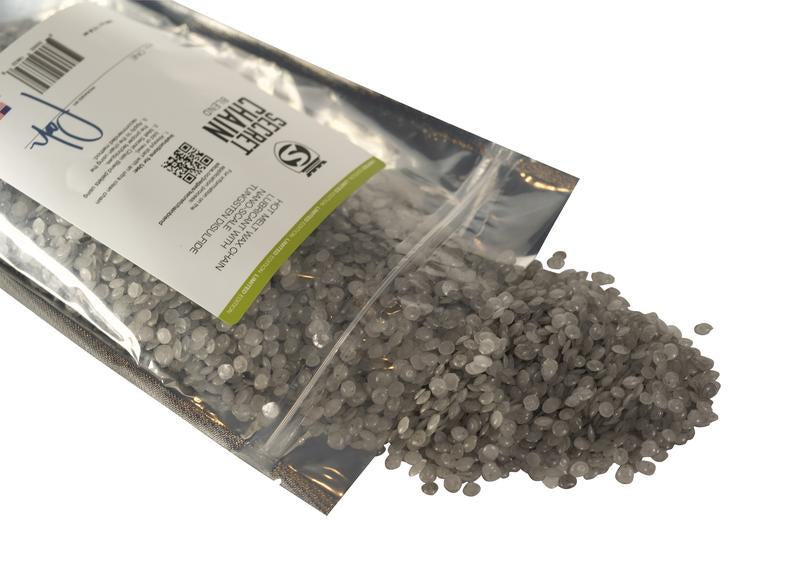
- Silca's Secret Chain Blend Hot Melt Wax - this is a "boil in the bag" product that eliminates the need for a crock pot to melt the wax. While it's possible to source and mix your own paraffin wax/oils to build your own "formula" it's much simpler to use the Silca wax which already has the precise correct mix.
- Optional - an ultrasonic cleaner, like this basic model to be used for cleaning the chain prior to waxing.
- Chain(s) - preferably a brand new, never-ridden one if possible
- Wire coat hanger or other "hook"
- Safety goggles
- Gloves
Interested? Let's take a look at the steps for a perfectly waxed chain:
- Wear safety goggles and gloves for this project. Hot wax is dangerous and can burn.
- You must start with a scrupulously clean drivetrain for effective waxing. All parts must be completely free of oil, dirt, and grease. This includes the chain itself, chainring(s), cassette or freewheel cogs, and derailleur pulleys. While you don't have to begin with new components, it's certainly a nice starting point and very convenient. Make sure all the parts are free of dirt, grit, existing lube, etc. before you wax.
- Take the chain off the bike if you haven't already.
- A simple way to get everything clean is to use an ultrasonic cleaner. Drop the components in, plug in, and ultrasonic waves shake away the debris. Grit and goop falls to the bottom of the cleaner, leaving you a perfectly clean component. As a bonus, ultrasonic cleaners can be used for many other applications beyond bicycles, like cleaning eyeglasses, jewelry, tools, and more. For bicycle components, try a little degreaser plus water to fill the tank.
- Run the ultrasonic cleaner until the chain is spotless. It should feel metallic and dry with all the gunk from inside the rollers washed away.
- If you prefer to use elbow grease instead of an ultrasonic cleaner, dunking, shaking, and soaking the chains in a petroleum product can be an alternative. Wash, rinse, repeat until the waste liquid is clear. If you use this method, the chain will still need to be degreased because petroleum leaves a film. Hit it with the hose to blast everything away when done.
- Setup a pot of water on the stove large enough to accommodate the Silca Hot Melt Wax bag. You only need a couple inches of water, to cover the base of the bag. Drop the Silca Hot Melt Wax bag into the pot.
- Turn on the stove and monitor. As the temperature rises, the wax will turn from solid to liquid, at which point it's ready for use. You don't need a super-high temperature, just enough to liquify the wax.
- Dip the chain in and make sure it's fully coated and covered. Wiggle the chain around to allow air bubbles to escape and the wax to fully penetrate.
- Use your wire coat hanger to fish the chain out of the wax. Hold it above the bag, so that excess wax runs down bag into the bag (it's reusable!)
- Don't forget to turn off the stove.
- Hang the chain in a clean place (like a garage) and allow it to dry.
- When the chain is fully cool and dry, wipe away any excess with a new, clean rag. You'll notice that the links are stiff, from the dried wax on the rollers. This is fine, it loosens up immediately.
- * re-install the chain on your bike and off you go!
Additional tips for waxing a bicycle chain
It's very convenient to have two chains - one on the bike, one in the wax process. That way you never have downtime waiting for the chain to dry. Just swap your clean chain onto the bike and go, clean and wax the second chain at a convenient time.
The Silca Hot Wax bag can be used many times, so don't discard the bag when you are done. Let the pellets cool down and solidify and then store the bag for future use. Unlike one-time "disposable" wax, we can use the Silca bag again and again, so you must never contaminate it. Never put a dirty chain in the wax.
It's convenient to do your entire fleet of bicycles all at once so you only have to heat up the wax once.
* If you're planning to repeatedly install and remove chains, make sure you are using a chain with master links, connecting links, chain pins etc. that are specifically designed to be re-used repeatedly, like KMC's re-usable master links. Broken chains are no fun.
Are you a chain waxing convert? Send me a message @RideCX on Facebook, Instagram, or Twitter and let me know which tools are working well for you on your quest for the cleanest, quietest chain.